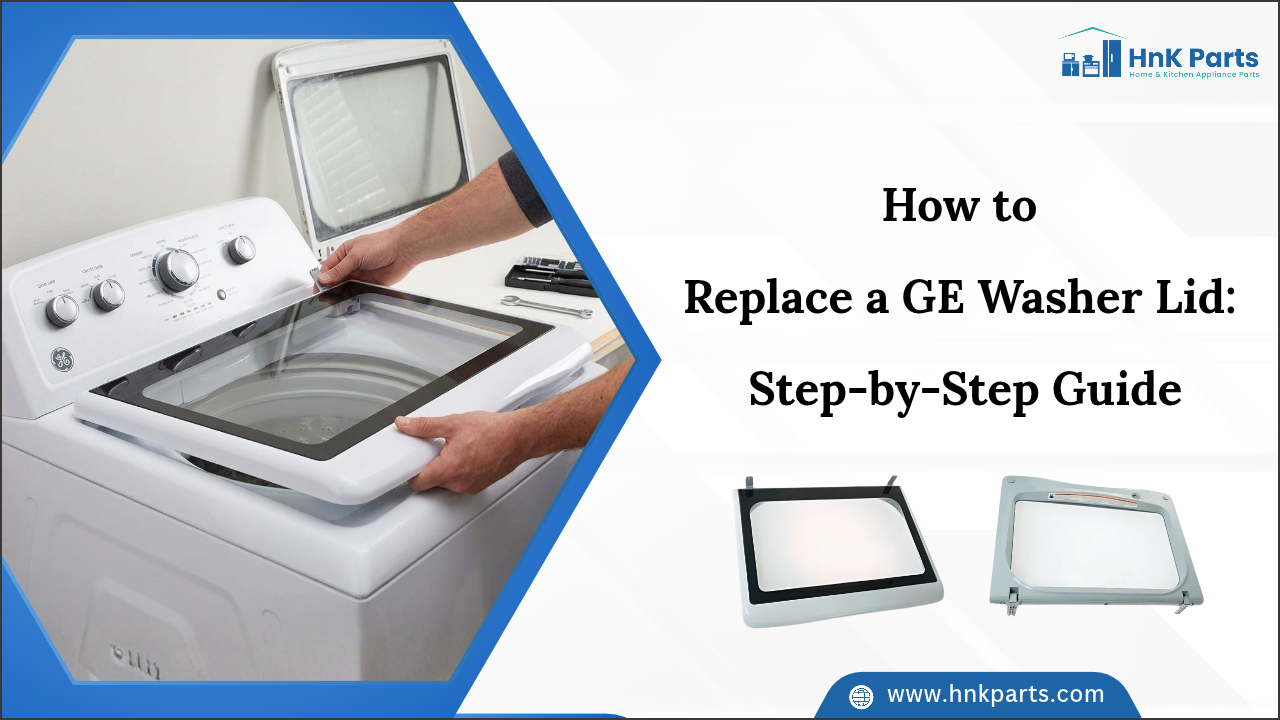
How to Replace a GE Washer Lid: Step-by-Step Guide
A GE washer lid is essential for keeping a top-load washer properly closed during washing and spin cycles. When a GE washer lid is not closing correctly, the cause may be a cracked, damaged, or misaligned lid that requires replacement. Identifying the condition of the lid can help determine whether replacement is necessary and which replacement part is appropriate for the washer model.
Before installing a GE washer lid replacement, confirm the part matches the washer model and review how the existing lid is secured. This guide covers the tools, removal and installation steps, alignment checks, and final tests needed to complete the replacement.
Table of Contents
When Should You Replace a GE Washer Lid?
A GE washer lid can develop physical damage or alignment problems over time, making normal loading and closing difficult. Identifying these signs early can help determine when replacement is appropriate. Look for:
- Cracks or Broken Areas: Visible cracks in the lid, glass, or surrounding frame can affect its strength and make continued use impractical.
- Lid No Longer Closes Properly: If the lid does not sit flat, close completely, or requires extra force, the lid or its mounting components may need attention.
- Loose or Damaged Hinges: Excessive movement, wobbling, or uneven positioning can indicate a worn or broken hinge. In some cases, a GE washer lid hinge replacement may resolve the problem without replacing the entire lid.
- Damaged Lid Strike: A broken or misaligned strike can prevent the lid from engaging correctly with the washer's safety mechanism. A GE washer lid strike replacement may be sufficient if the lid itself remains in good condition.
- Washer Does Not Recognize the Closed Lid: If the washer does not start or respond correctly after the lid is closed, the lid lock, switch, strike, or alignment may be involved.
- Visible Wear Around Mounting Points: Damage around the hinge or mounting areas can prevent a replacement lid from sitting securely and should be inspected before installation.
Regular inspection of GE washer replacement parts can help identify wear, looseness, or alignment issues before they affect the lid’s fit and everyday operation.
What You Need Before Replacing a GE Washer Lid
Before starting a GE top-load washer lid replacement, confirm the washer model, verify the replacement lid, gather the necessary tools, and disconnect power. The following preparations can make installation more straightforward:
1. Confirm the Washer Model Number: Start by finding your washer’s model number before choosing a GE washer lid replacement part. For example, lid part GE WH13X30373 fits only specific GE models, so check it against your model number.
2. Compare the Replacement Lid: Compare the replacement with the existing lid before removal. Check:
- Overall dimensions
- Hinge locations
- Mounting points
- Glass or viewing-window design
- Frame style
- Strike or latch position
- Included hardware
- Part number and compatibility
3. Prepare Basic Tools: The required tools can vary by model. Keep commonly needed items available:
- Screwdriver
- Nut driver or socket set
- Work gloves
- Small container for screws
- Towel or protective cloth
Follow the washer's service documentation if it specifies different tools or fasteners.
4. Disconnect Power: Unplug the washer before handling the lid or related components. Keeping the appliance disconnected during installation prevents it from operating while the repair is underway.
Experiencing washing machine problems? Fix them quickly with high-quality home appliance repair parts from HnK Parts. Shop GE washer parts such as lids, lid hinges, lid strikes, lid lock assemblies, drain pumps, water inlet valves, and more.
How to Replace a GE Washer Lid Step by Step
A successful lid replacement is not only about removing and attaching the part. Paying attention to hardware position, hinge movement, and lid alignment can make the finished installation more reliable. Follow these eight steps:
- Step 1: Disconnect the Washer: Unplug the washer from the electrical outlet before starting the replacement.
- Step 2: Open and Support the Lid: Open the existing lid and support it securely while accessing the hinge area.
- Step 3: Remove the Existing Lid: Remove the screws or fasteners securing the lid to the hinge. Keep the hardware together if it will be reused.
- Step 4: Inspect the Hinge Area: Check the hinge and mounting points for cracks, looseness, or other visible damage.
- Step 5: Position the Replacement Lid: Place the new GE washer lid onto the hinge points and align the mounting holes.
- Step 6: Secure the Lid: Reinstall the mounting hardware and tighten it securely without overtightening.
- Step 7: Check the Lid Alignment: Open and close the lid several times. Make sure it sits evenly and closes without excessive force.
- Step 8: Test the Washer: Reconnect the power and run an appropriate test cycle to confirm that the lid closes correctly and the washer operates normally.
Safety Note: Avoid forcing the replacement lid into place if the hinge or mounting holes do not align. Incorrect positioning can damage the lid, hinge, or washer cabinet. If the lid remains uneven or does not close correctly after installation, check the alignment before operating the washer.
Watch this video guide to washing machine parts and how each one contributes to efficient washer operation.
How to Check a New GE Washer Lid After Installation
After installing a new GE washer lid, a few practical checks can confirm that the lid sits correctly, moves smoothly, and interacts properly with the washer. Here are the key points to check:
- Observe the Lid’s Resting Position: With the lid fully open, make sure it remains stable rather than drifting, dropping, or pulling toward one side.
- Test the Hinge Movement: Move the lid slowly through its normal range. The movement should feel consistent without sudden resistance or looseness.
- Examine the Lid Gap: Close the lid and look along the edges where it meets the washer cabinet. The spacing should remain reasonably even.
- Look for Frame Movement: Pay attention to the lid frame while opening and closing it. Any unusual movement between the frame and lid may indicate improper installation.
- Confirm the Closing Position: Let the lid close naturally without pushing or shifting it sideways. It should settle into its intended position smoothly.
- Run a Short Test Cycle: Start a short wash cycle and confirm that the washer recognizes the closed lid and begins normally. If the model uses a lid lock, verify that it engages as expected.
- Reassess After Testing: Open and close the lid again after the test cycle. The hinge movement, alignment, and closing position should remain consistent.
Find out when to repair or replace your washing machine water inlet valve.
Common Problems After Replacing a GE Washer Lid
A replacement lid may fit correctly yet still reveal problems involving alignment, locking, or washer response. Checking these areas before replacing more parts can show whether the lid, strike, or lid lock is causing the problem:
- Washer Lid Not Closing: If the lid does not close fully, inspect its position, hinge, mounting points, and any obstruction around the opening. A misaligned strike can also prevent proper engagement.
- Lid Closes but Washer Does Not Start: The washer may not recognize the closed position because of an issue with the lid lock, switch, strike, wiring, hinge alignment, or replacement lid.
- Lid Sits Unevenly: An uneven lid can result from incorrect positioning or a problem with the hinge or washer-side mounting points. Reposition the lid and verify the surrounding gap.
- Washer Lid Lock Does Not Engage: If the lock does not engage, examine the alignment between the lid and strike before replacing the lock itself. An incorrectly positioned lid can prevent proper engagement. The lid lock sits under the washer top and latches onto the strike on the underside of the lid; if the strike is bent or missing, the lock cannot engage and the washer will not start.
- Washer Lid Does Not Unlock: GE washers keep the lid locked until the drum stops spinning, and it usually releases within a few minutes after the cycle ends. If it stays locked longer, the lid lock assembly may need inspection.
Explore the top 10 washing machine issues homeowners face and how to solve them.
Summary: Replace the GE Washer Lid Safely and Correctly
Replacing a damaged washer lid with the correct compatible part can restore secure closure and reliable everyday use. A GE top load washer lid replacement should begin with confirming the washer model, followed by careful installation, proper alignment, and inspection of the hinge, strike, and lid-lock area. After installation, test the lid's movement and closure before running a short wash cycle to make sure the washer responds normally.
Key Takeaways
- Verify the Washer Model: Use the complete model number to select a lid that matches the washer's specific design and mounting arrangement.
- Compare the Replacement: Check the lid's dimensions, hinge locations, mounting points, frame, viewing area, and included hardware before removing the original.
- Inspect Supporting Components: Examine the hinge, strike, mounting points, and lid-lock area for damage that could affect the new lid.
- Install With Proper Alignment: Position the replacement carefully and avoid forcing the lid or mounting hardware if the components do not line up naturally.
- Test Lid Movement: Open and close the lid several times to confirm smooth movement, consistent positioning, and secure closure.
- Run a Final Test: Reconnect power and run a short wash cycle to confirm that the washer recognizes the closed lid and operates normally.
Ready to fix your washer? Shop GE washer lids, hinges, strikes, and lid lock assemblies at HnK Parts, matched to your model number.
FAQs
How do I know which GE washer lid replacement I need?
Use your washer’s complete model number to find a compatible GE washer lid replacement. Confirm the lid’s dimensions, hinge position, mounting points, and compatibility before purchasing.
Why is my GE washer lid not closing after replacement?
If the GE washer lid is not closing, check the lid alignment, hinge position, and surrounding mounting points. A damaged or incorrectly positioned component may need a new lid strike.
Can I replace only the hinge instead of the entire GE washer lid?
Yes, if the lid itself remains in good condition and the hinge is the only damaged component, a GE washer lid hinge replacement may be sufficient. Always verify that the replacement hinge matches the specific washer model.
Why does my GE washer not start after replacing the lid?
If the washer does not start, the lid may not be engaging correctly with the washer’s safety mechanism. Check the GE washer lid lock and strike alignment, and replace the lid strike if it is damaged or incorrectly positioned.
What does the lid lock do on a GE washer?
It latches the lid during agitation and spin so the drum cannot be reached while it is moving. The washer will not start or spin unless the lock engages.
Disclaimer: The information in this guide is provided for general reference. Lid designs, replacement procedures, and supporting components can vary by washer model.


