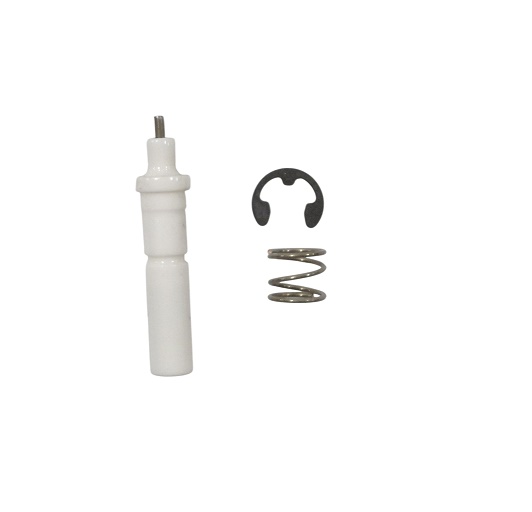

Samsung DE81-03529A Range SVC Service Kit Igniter Sgl
Description
The Samsung DE81-03529A Range Igniter Service Kit Sgl is an essential component for efficient and dependable stove performance. With the help of this service kit, Samsung ranges' igniter performance will be improved and replaced, guaranteeing perfect ignition for culinary adventures. The kit offers a precise and customized solution for compatible appliances and is designed exclusively for single igniter systems. Users may easily restart their range's ignition system with this servicing kit, preventing interruptions and delays during meal preparation. The Samsung DE81-03529A Range Igniter Service Kit Sgl not only restores functionality but also increases the appliance's overall longevity and efficiency, offering owners a cost-effective and practical alternative for maintaining their Samsung ranges.
| Manufacturer Name: Samsung Product Number: DE81-03529A OEM Part Number: DE81-03529A Product Description: Svc-Service Kit Igniter Sgl |
Choose the best Home Appliance parts and supplies from HnKParts!
Same Day Shipping
Best Quality And Best Price
Wide Range of Inventory
Best Customer Service
Have More Questions or Need Help to Place The Order?
Reach us at (866)723-0907 or [email protected]
Step 2: The bottom drawer or panel located beneath the range where the igniter is situated should be taken out.
Step 3: To detach the old igniter, a socket wrench should be utilized to loosen the screws and the wiring harness should be disconnected. Afterwards, it should be pulled away from the range.
Step 4: The new Samsung DE81-03529A SVC-SERVICE KIT IGNITER SGL is now set to be installed. The wiring harnesses should be linked with the supplied clip. Then, they should be fastened using the screws.
Step 5: After the wiring harness is firmly secured, the new igniter can be inserted into the range. It should ensure that everything is tightly positioned and the screws should be tightened.
Step 6: It should be verified that all connections are tight, and then the gas line can be turned back on and the new igniter can be tested.
Please note, these instructions serve as general guidance and should always be utilized alongside the manufacturer's manual, if available.
Customer Reviews
No reviews yet. Be the first to write one!
Write a Review
We strive to provide our customers with a hassle-free and efficient shopping experience. Our shipping policy ensures the timely delivery of your orders and complete customer satisfaction. View More
We are committed to ensuring your complete satisfaction with every purchase. We understand that circumstances may arise where you must return a product or request a refund. If for any reason you are not satisfied, you may return the item(s) according to the terms outlined below. View More
This Payment Policy outlines the terms and conditions governing all payments made for products purchased through our website. By making a purchase, you agree to be bound by this Payment Policy. View More